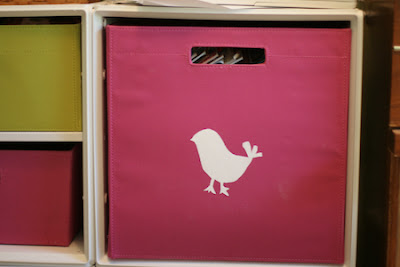
printing and organizing.
sample bin for the library room.
The process took a bit longer then I thought it would, but I think that it was a good investment of time. Especially once the next school year gets under way and I need to stay a bit more organized then I am over summer break.
supplies:
large target brand bins
pebeo setacolor opaque fabric paint from Blick Art Supply (color: titanium white)
brush: blick scholastic white bristle brush
freezer paper
exacto knife
self healing mat
stencil: I just typed the letter, choose the font and increased the size. I wanted each letter to be around 5 inches tall. Then printed each letter
After printing the letters. I tore a sheet of freezer paper for each letter. I tried to tear the paper about the size of one end of the bin so it would be a bit quicker to center. When taping down the paper with the letter on it. I measured to make sure that the bottom of the letter was close to 4 in. above the bottom so that they would all be the same. I used a couple of pieces of tape and just taped them down on two sides. Then I begin cutting through both the printed out letter/paper and the freezer paper. I saved the cut-out letters for another project, because I am using the freezer paper that is missing the cut-out letter.
After that was completed, I went ahead and carefully ironed the freezer paper (glossy side down) on the bin. I did not iron the entire sheet of freezer paper, just about 3-4 in. from the letters edge. Checking to make sure the freezer paper had adhered to the bin before printing onto the bins.
Then I stippled the paint on. First I dabbed the brush in the paint that I had poured out into a paper plate. Blotted it a bit onto a paper towel to make sure the brushes paint was even. Then I stippled (up and down motion with the brush) the paint onto the bin.
I set it up assembly line style and then after they all dried, went through and repeated to add more paint. After the paint finished drying, I carefully removed the freezer paper from the bins.
After finishing with the brush I washed them out. Threw away the used stencils.
One resource I love is Lena Corwin's book, "Printing by Hand". It is a great resource book with a lot of projects and clear directions.
Another book that has some stencils and how-to's in it is Lotta Jansdotter's "Simple Sewing for Baby"


Comments
Post a Comment